Add a DCC decoder to an Arnold Calf
Converting N-scale DC engines to DCC allows you to run them on your DCC layout. In this post, I’ll show how I added a TCS Z2 DCC decoder to my N-scale Arnold SW-1500 Calf. Similar methods can be applied to all sorts of model engines.
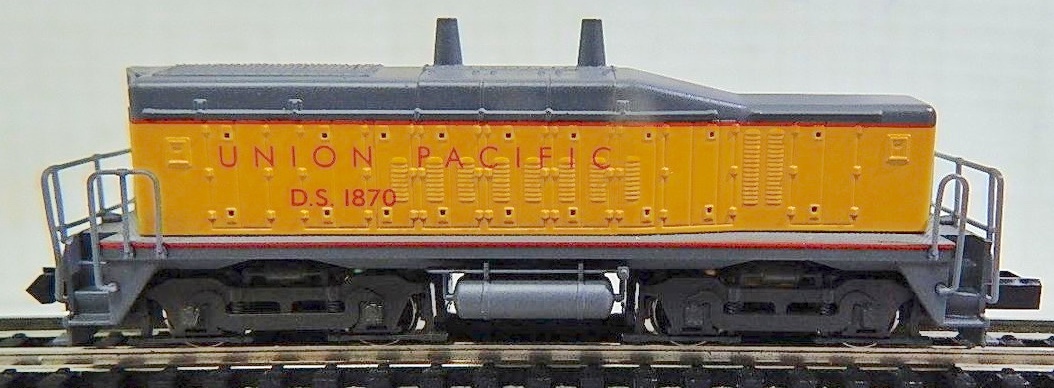
What we need
- A TCS Z2 2-function DCC decoder in a small form factor
- Kapton insulating tape
- Multi-strand thin wires, red and black, each 50mm/2” long
- Small 10W soldering iron and flux solder
Access the interior
- Remove the shell from the frame by pressing the fuel tank together (watch out as tabs break easily)
- Remove the hood from the frame (walkway) by pressing the front end inwards (again, wiggle gently before pulling as the tab might break)
- Drop the trucks, the power pickup PCB and the DC engine with wire worms
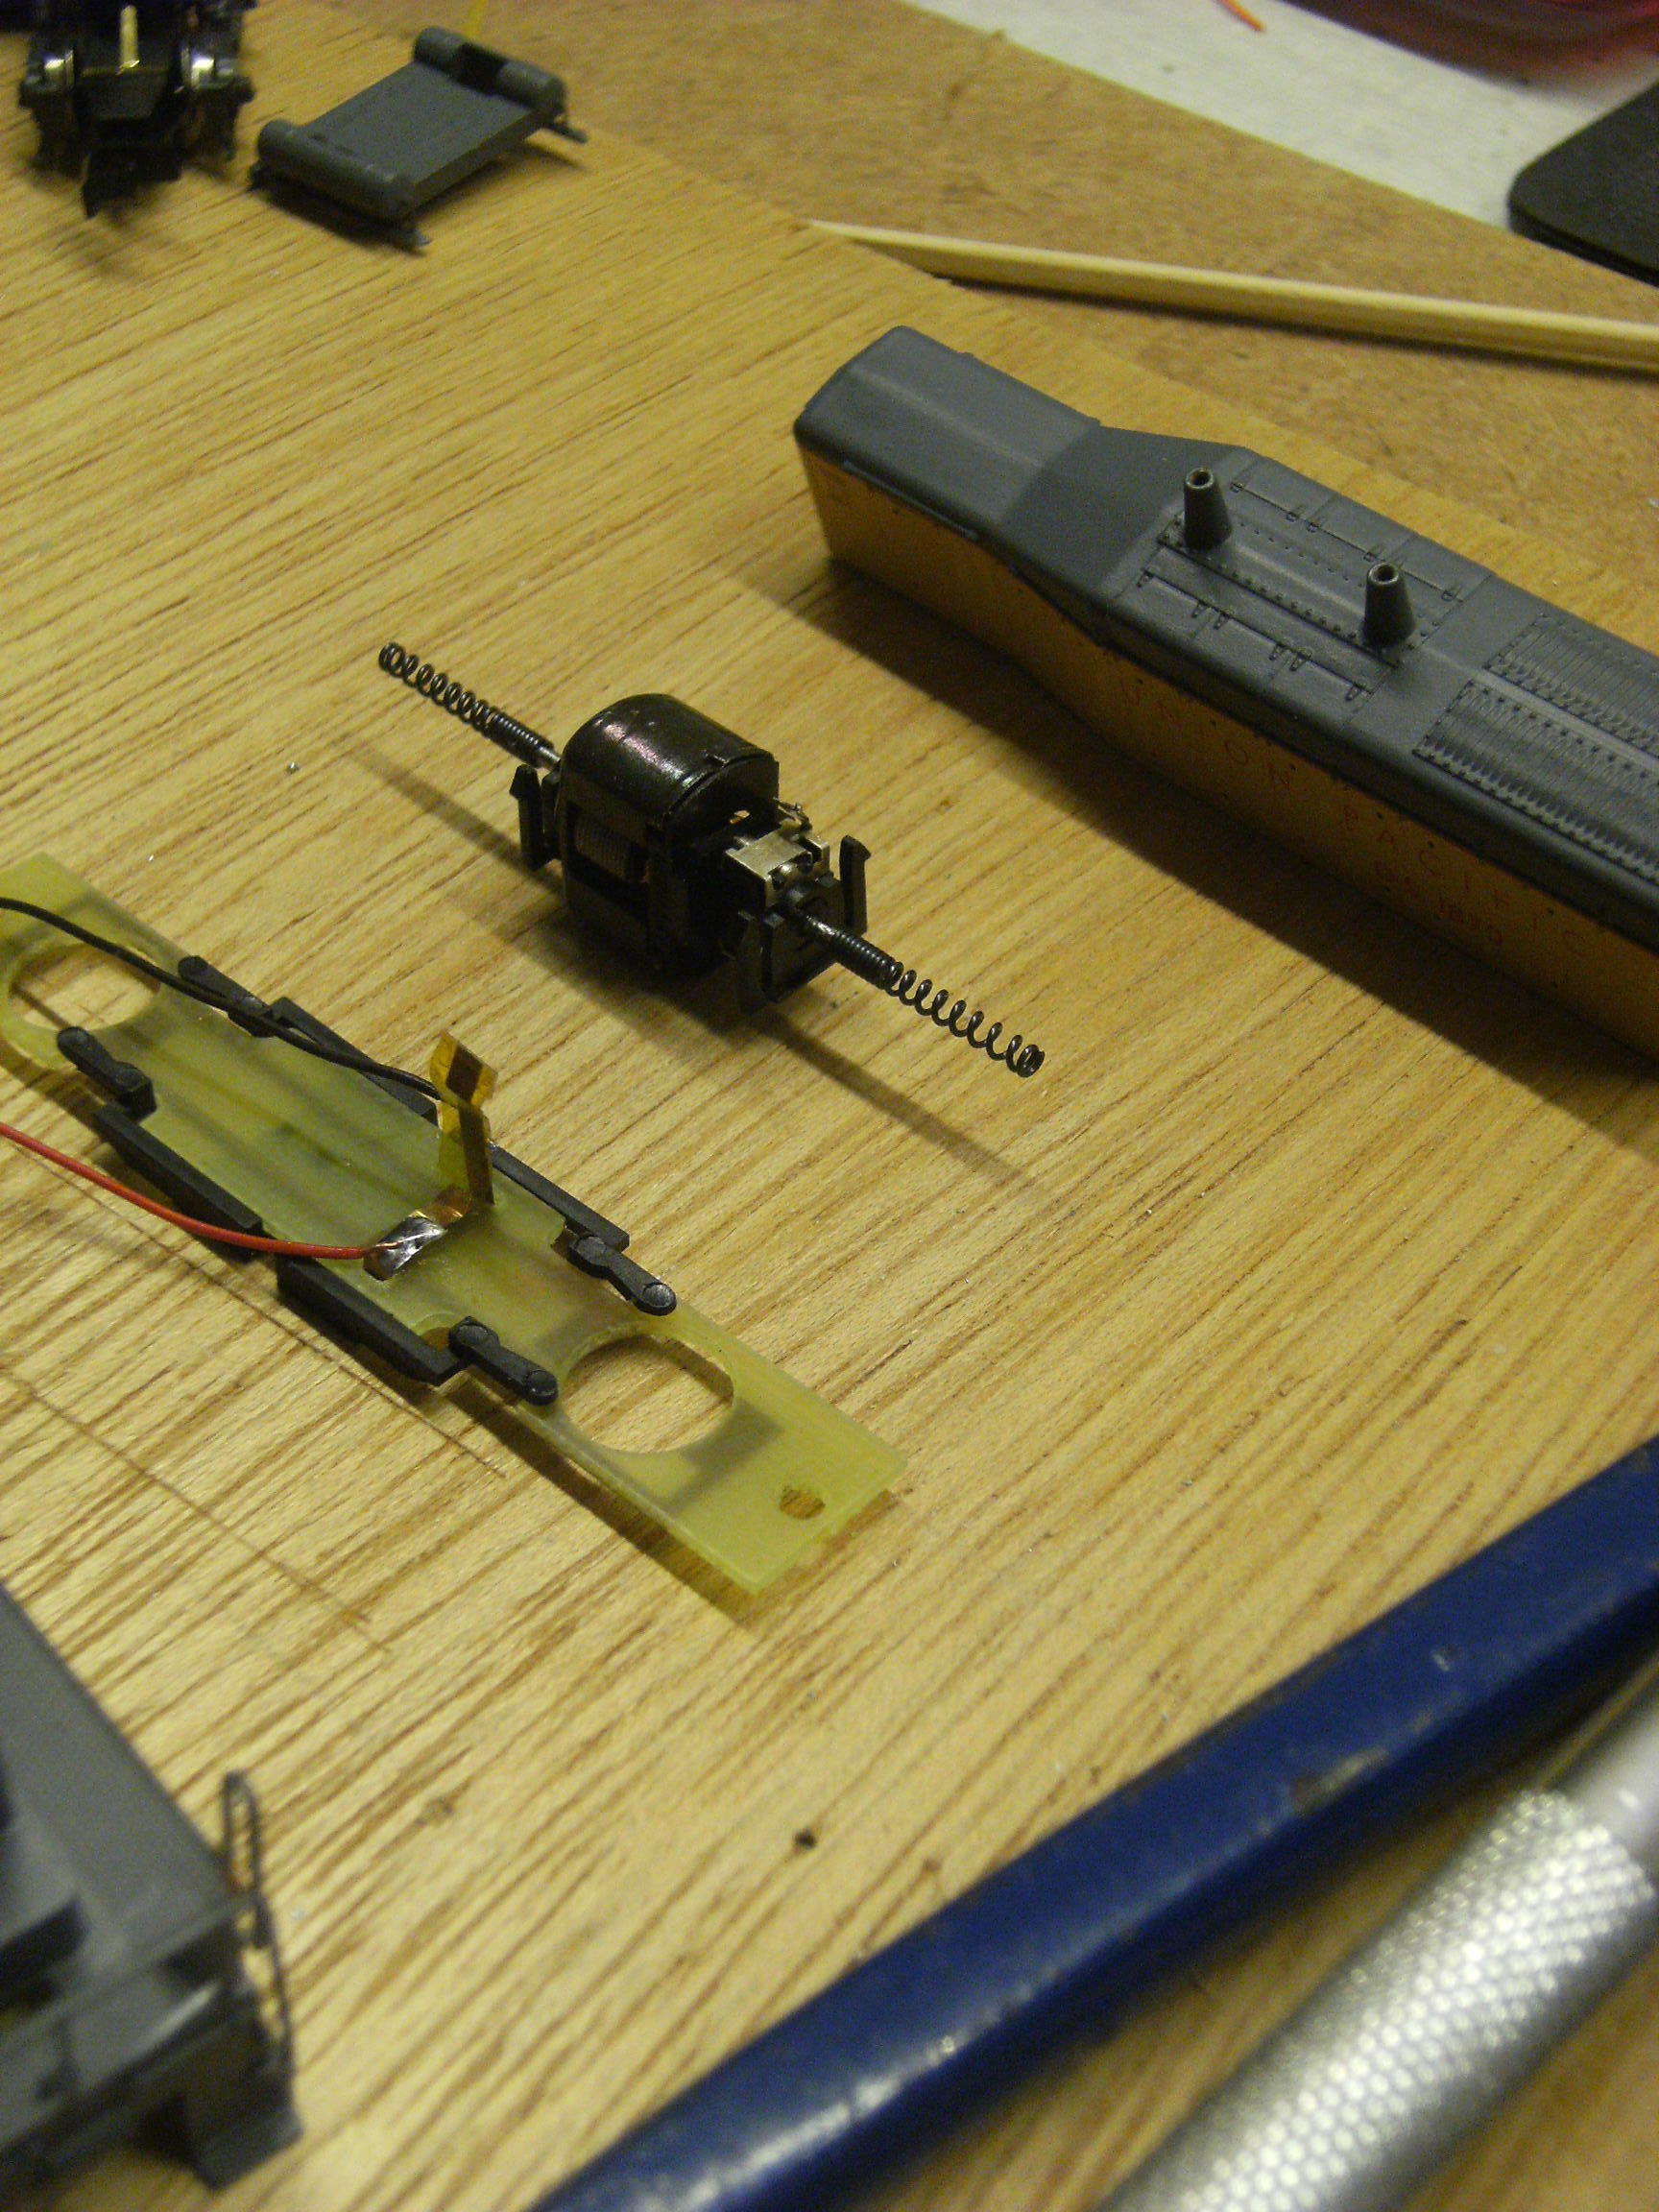
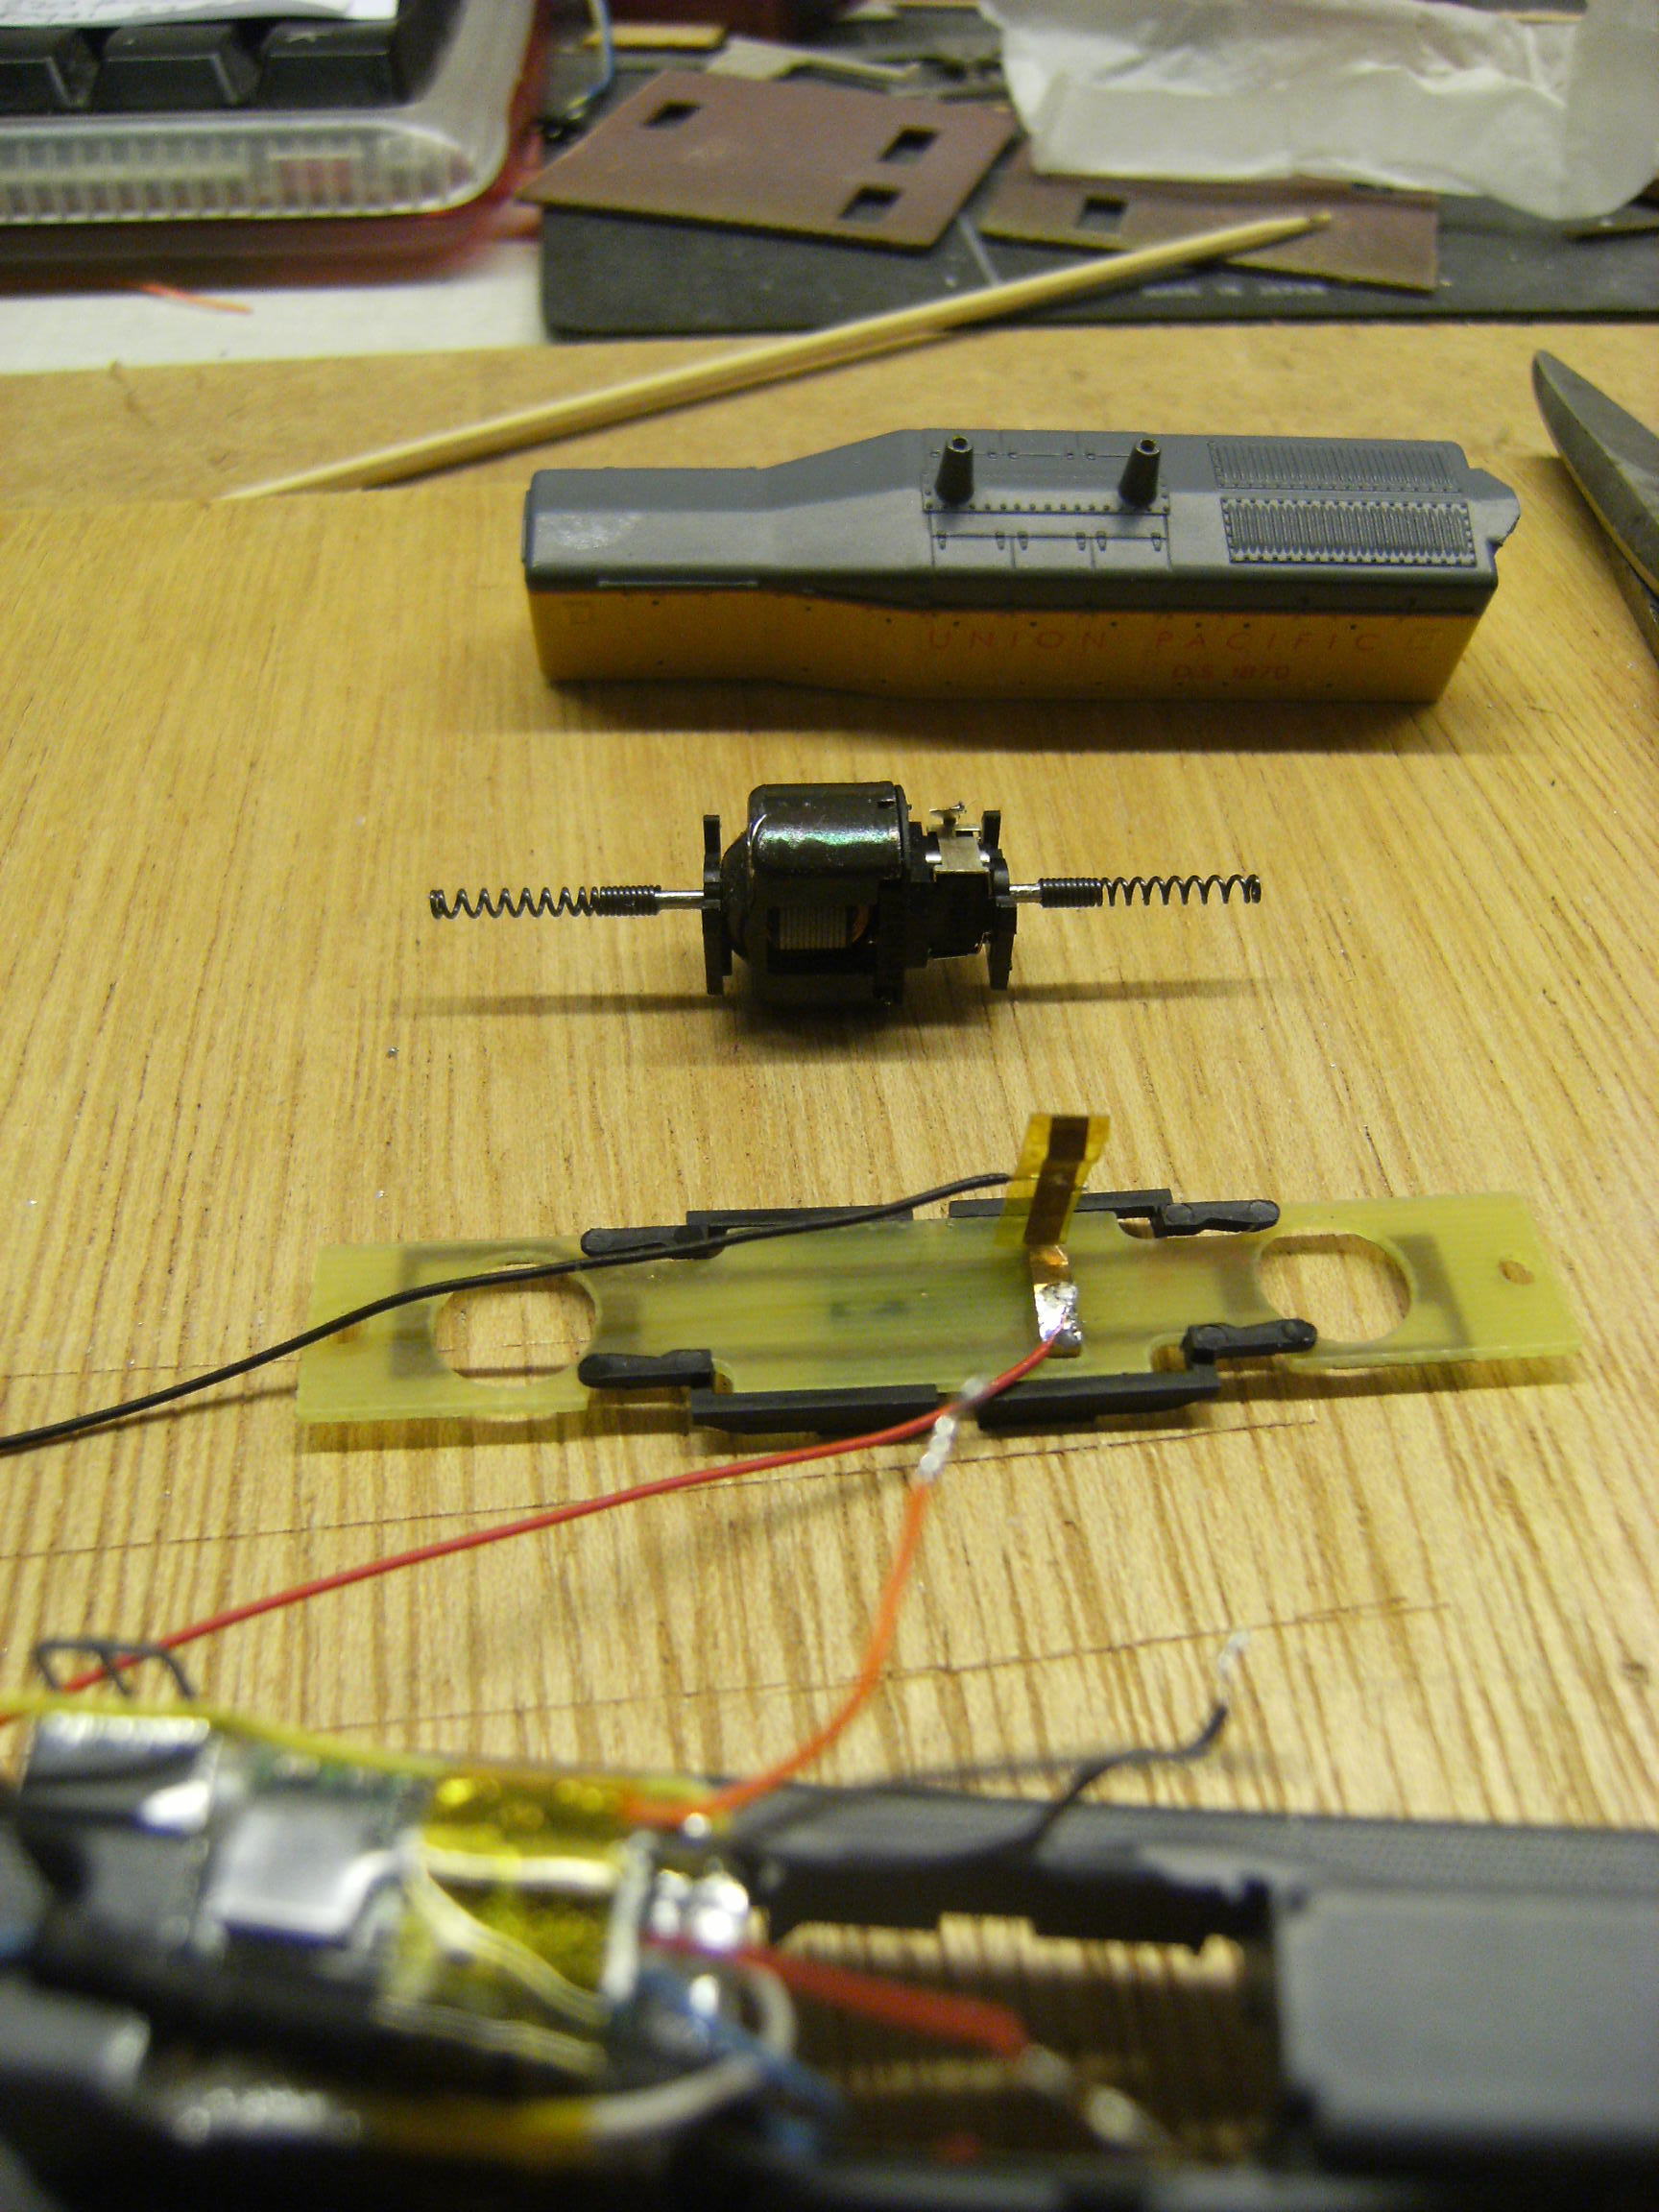
Make room for the decoder
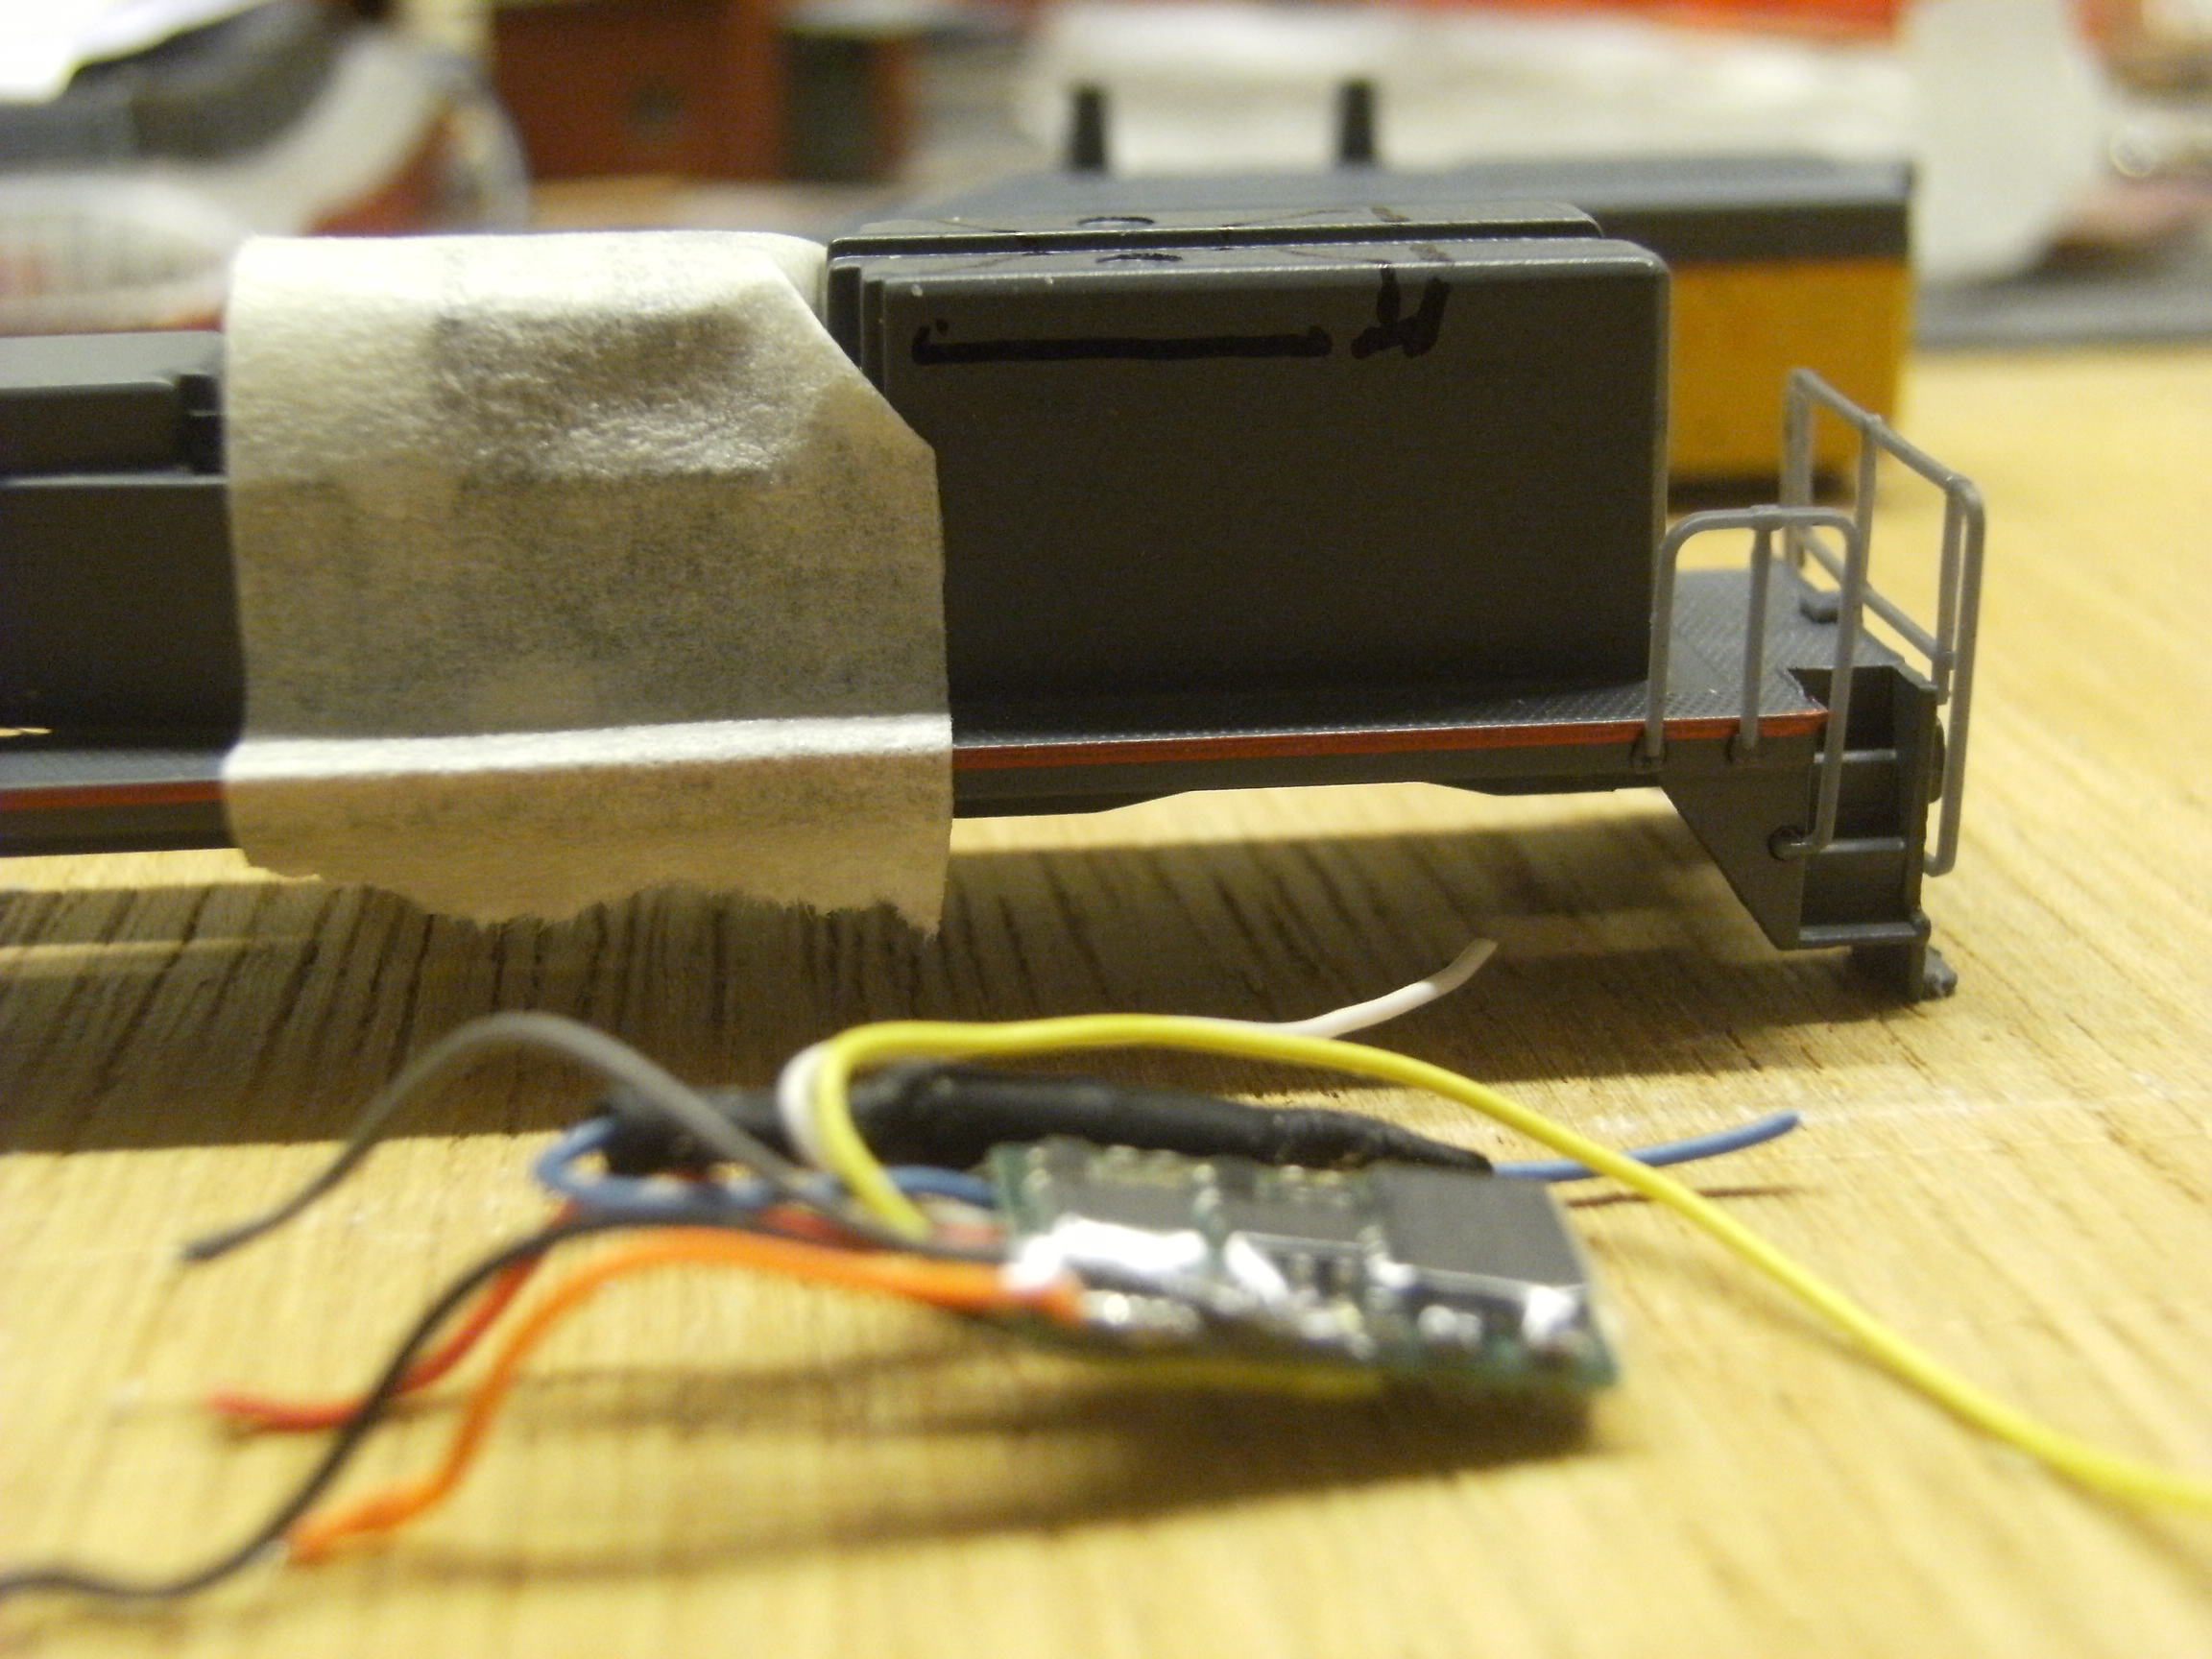
- Mark the top of the frame towards the high end of the motor, as illustrated.
- After the motor has been removed from the frame, use a saw and file to remove the marked part of the cast metal frame.
Convert the power pickup
- Isolate the inside of the copper bracket on PCB with a piece of thin Kapton tape.
- Instead of the PCB top directly feeding the DC engine, we solder a 50mm piece of thin red and black wire to the BCB tabs.
- Tape the decoder in its new position on top of the frame.
- Clip, strip and solder the gray and orange wires directly to the engine copper pads.
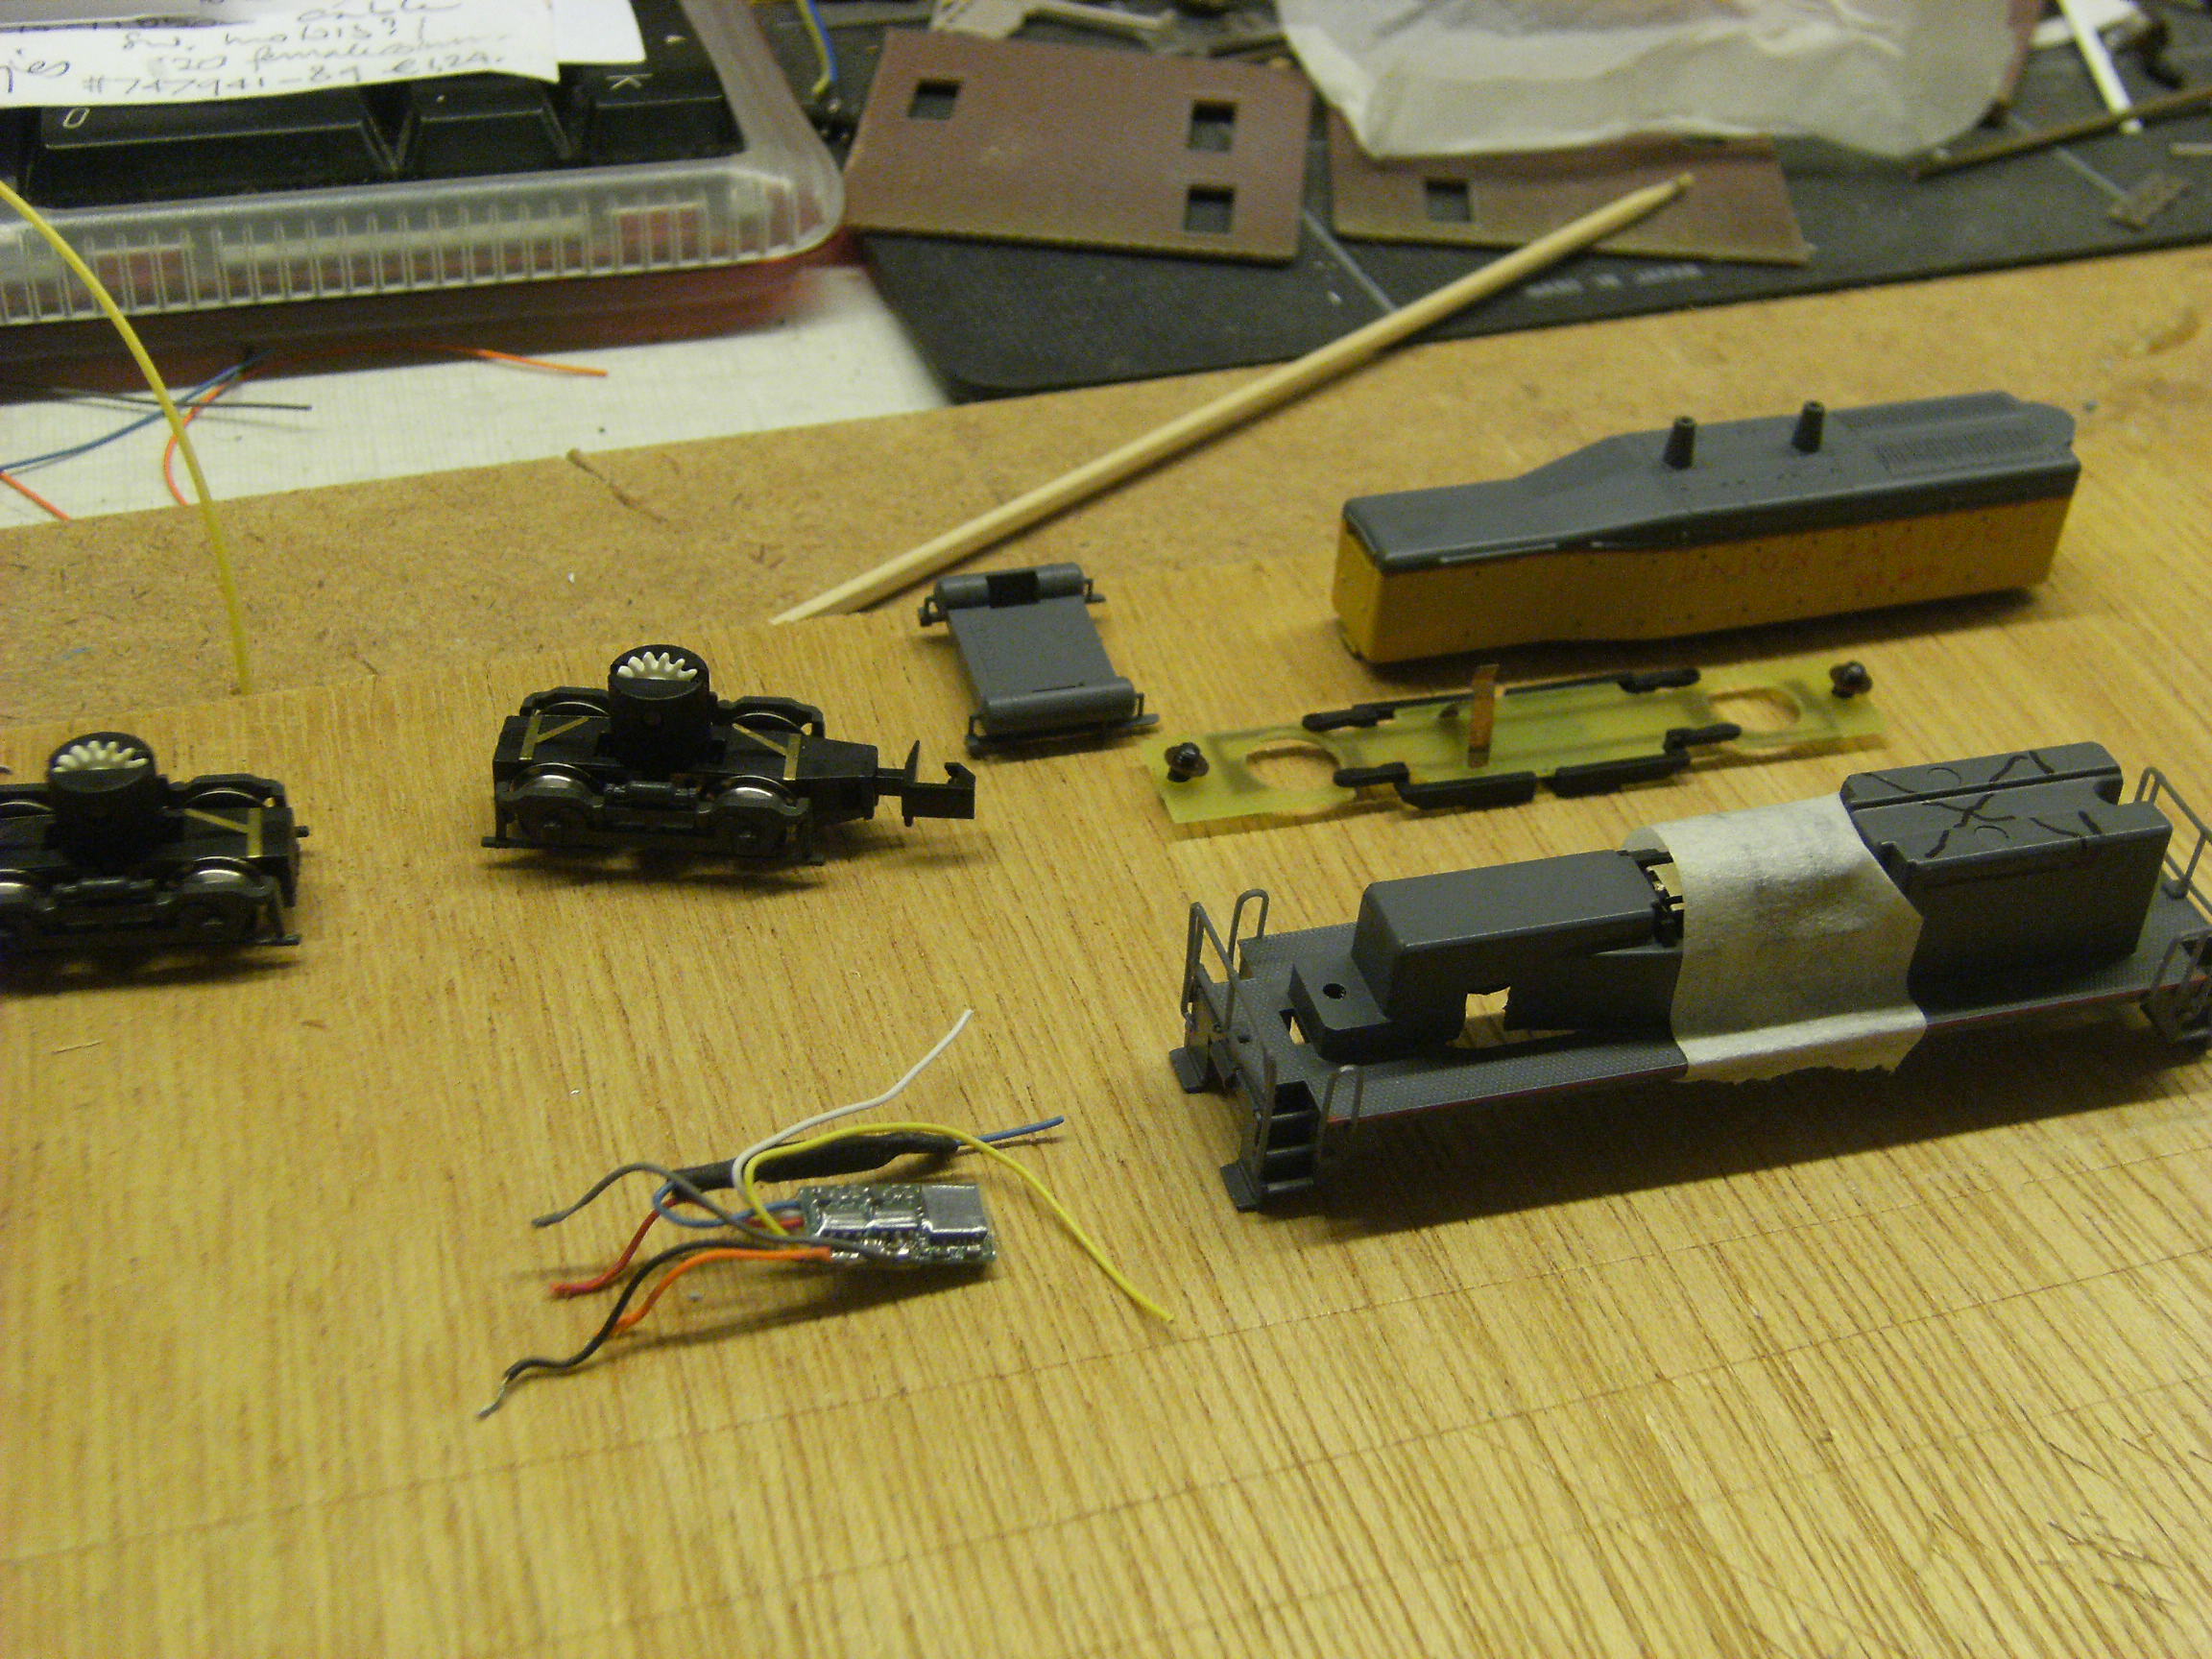

Finishing up
- Reassemble the trucks, motor and pickup PCB, while guiding the red and black wires up alongside the motor
- Clip the red and black wires to the decoder’s, folding them forward alongside the decoder.
- As front headlight place an LED in series with a 500 Ohm 1/4 W resistor in the recess, and solder to the blue (+) and white (-) decoder wires.
- Check all wiring, looking for shorts and polarity.
- Test drive the loco on a DCC controlled piece of track. Check speed, motor noise, turn on the headlight.

More
- Find the full TCS instructions here
- TCS provides a “GOOF-PROOF” Warranty, so go ahead and start converting your locos too.
Enjoy Reading This Article?
Here are some articles you might like to read next: