Truss bridge kitbash
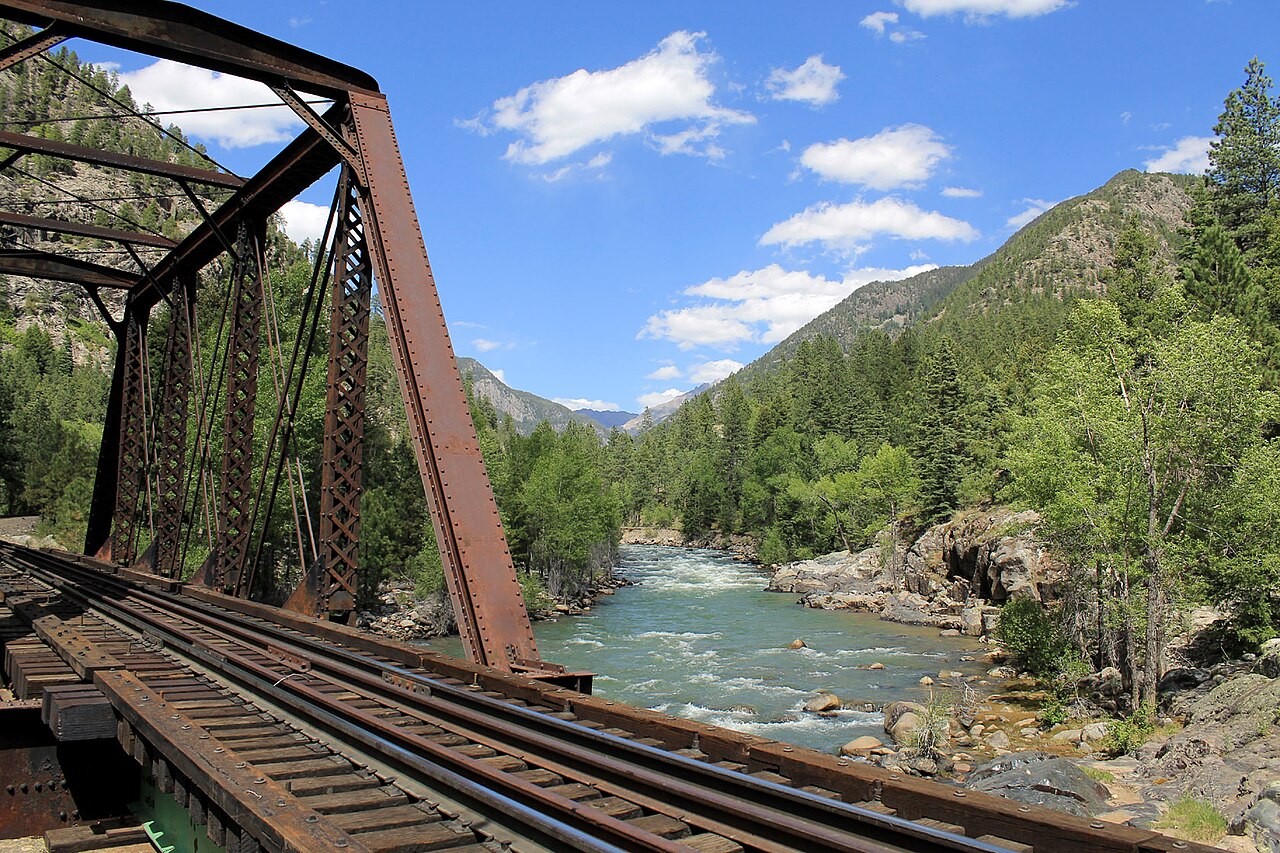
On the High Line, the train runs just before Silverton over a Pratt Truss steel truss bridge.
With some modifications I kitbashed it from on a Central Valley #1810 150’ Truss Bridge injection-molded styrene kit. Shorten the bridge from 5 to 4 trusses and customise the shape of the end portals as in the prototype.

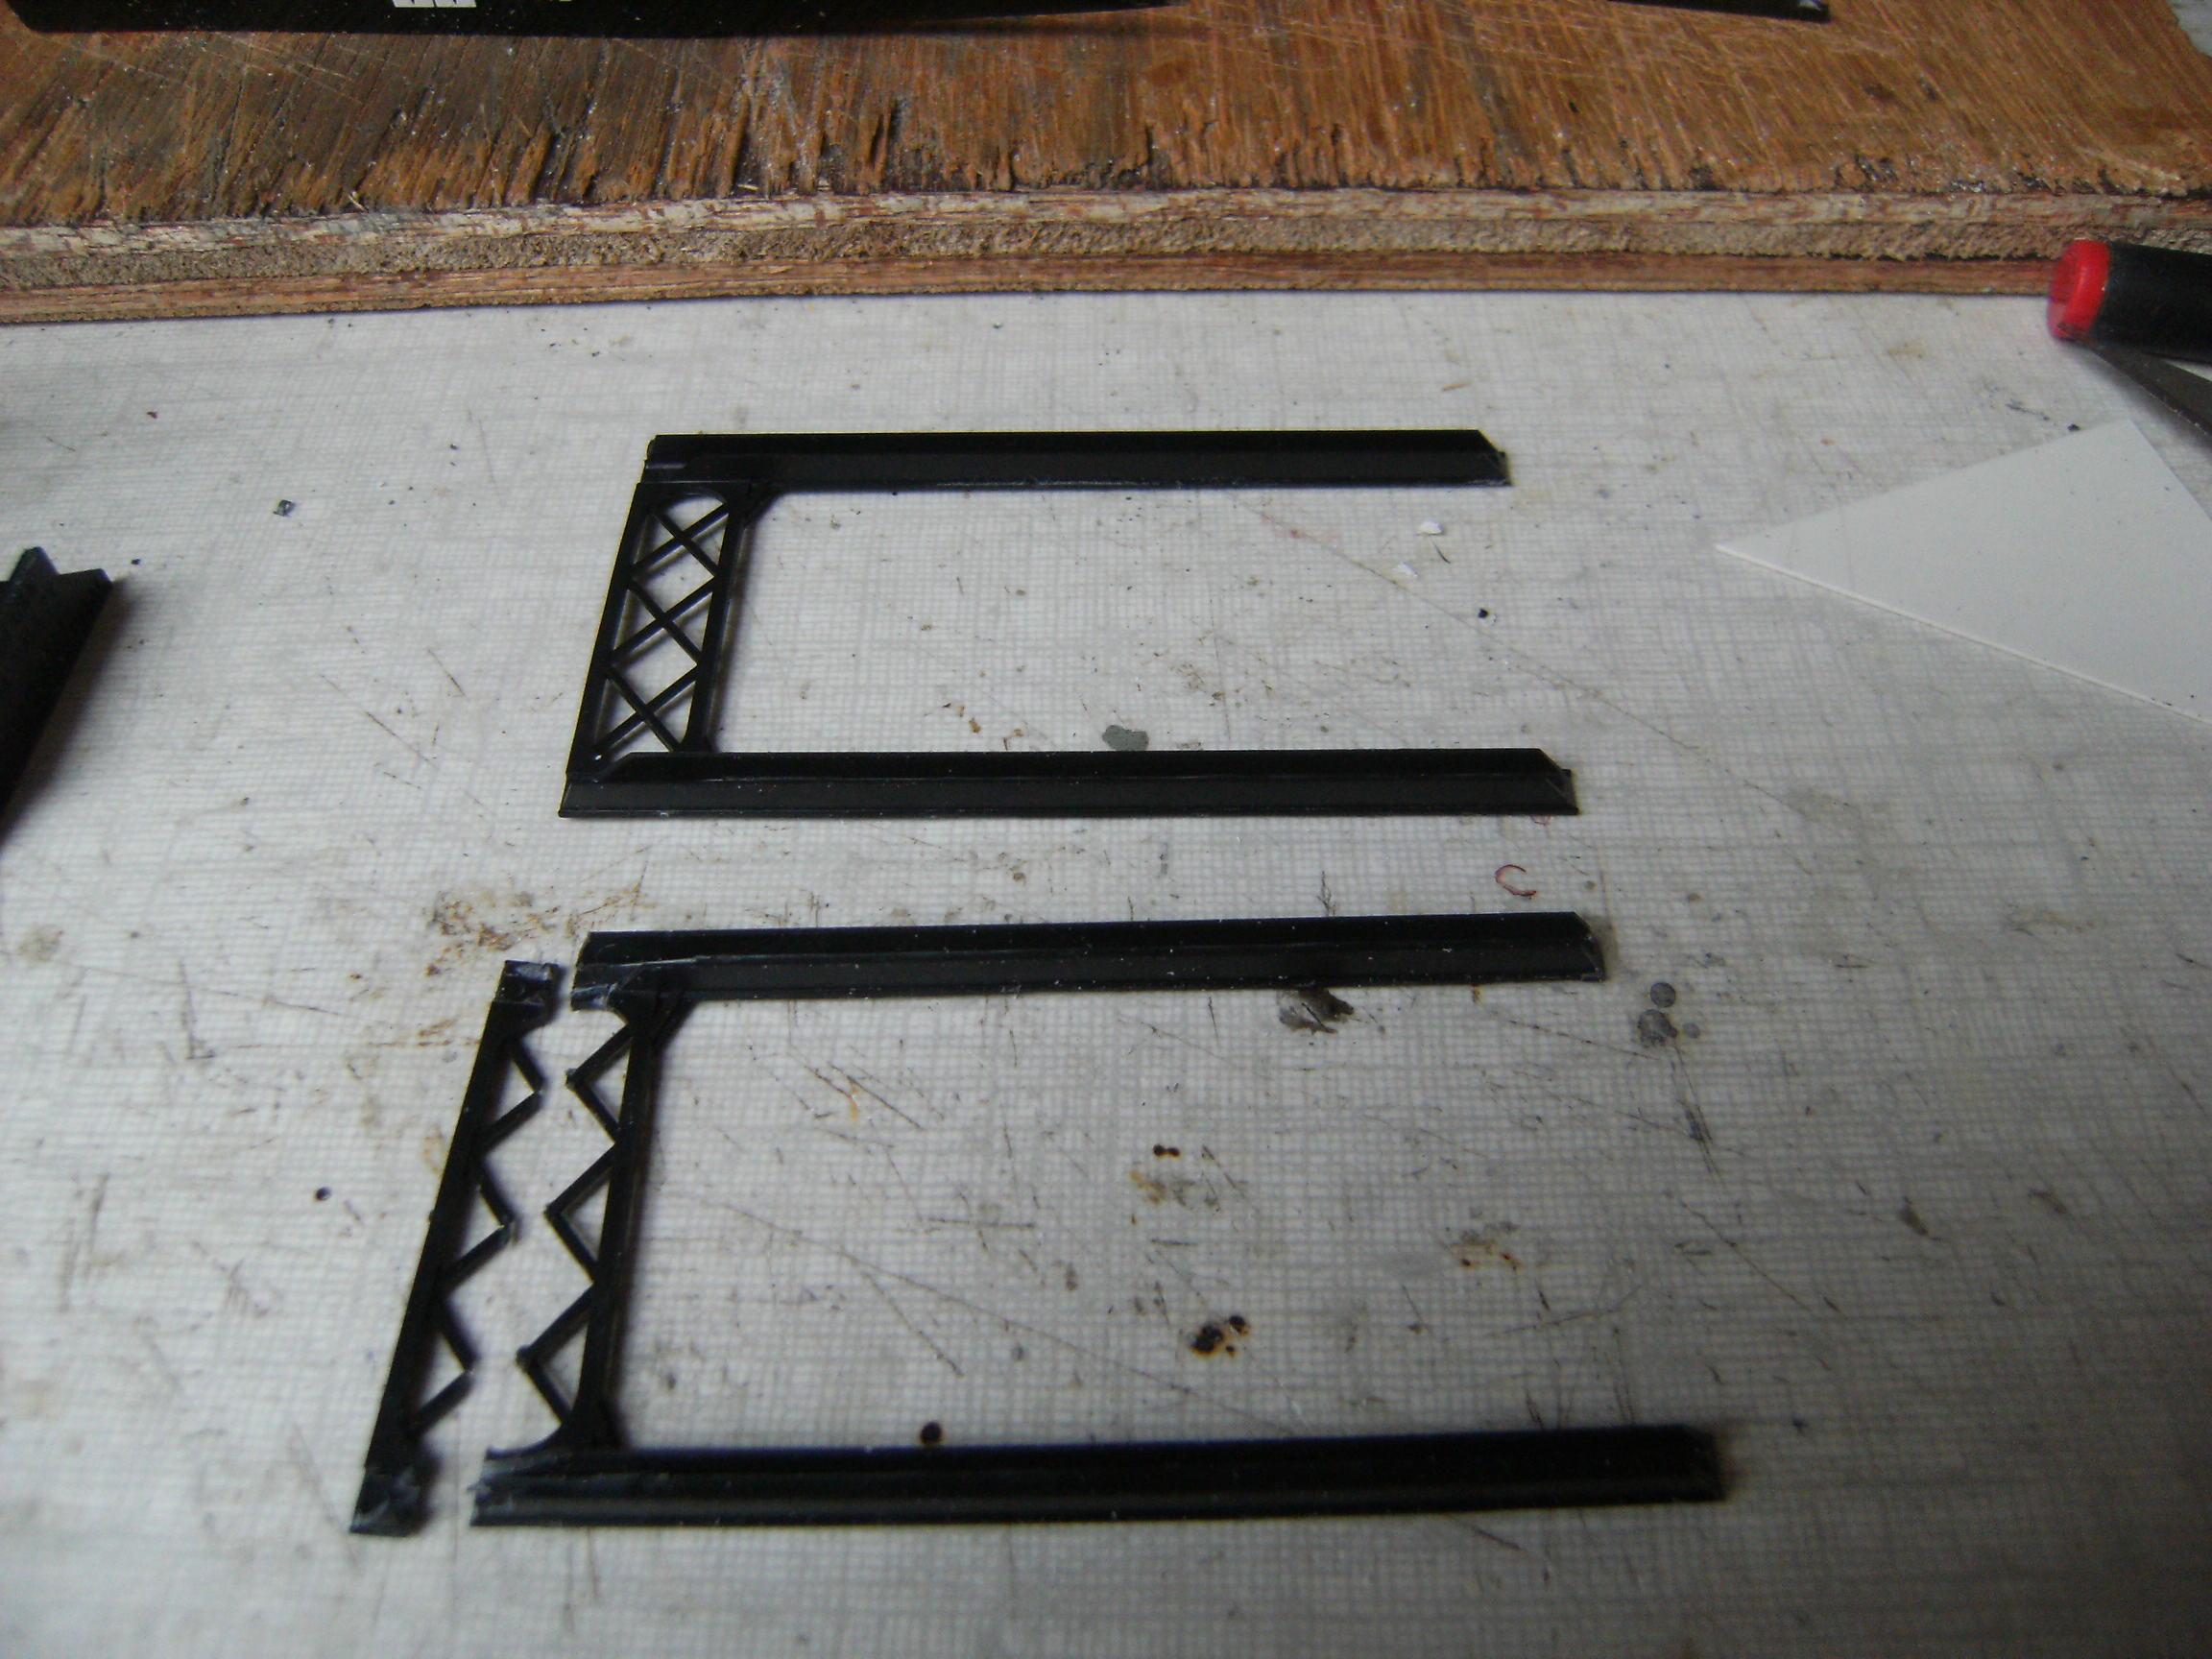
The beams and sleepers
- Shorten the joist to 4/5
- Shorten the sleeper casting to fit


Custom End Portals
- Raise the top half of the truss of each final portal
- Make two rounded panels of styrene strip
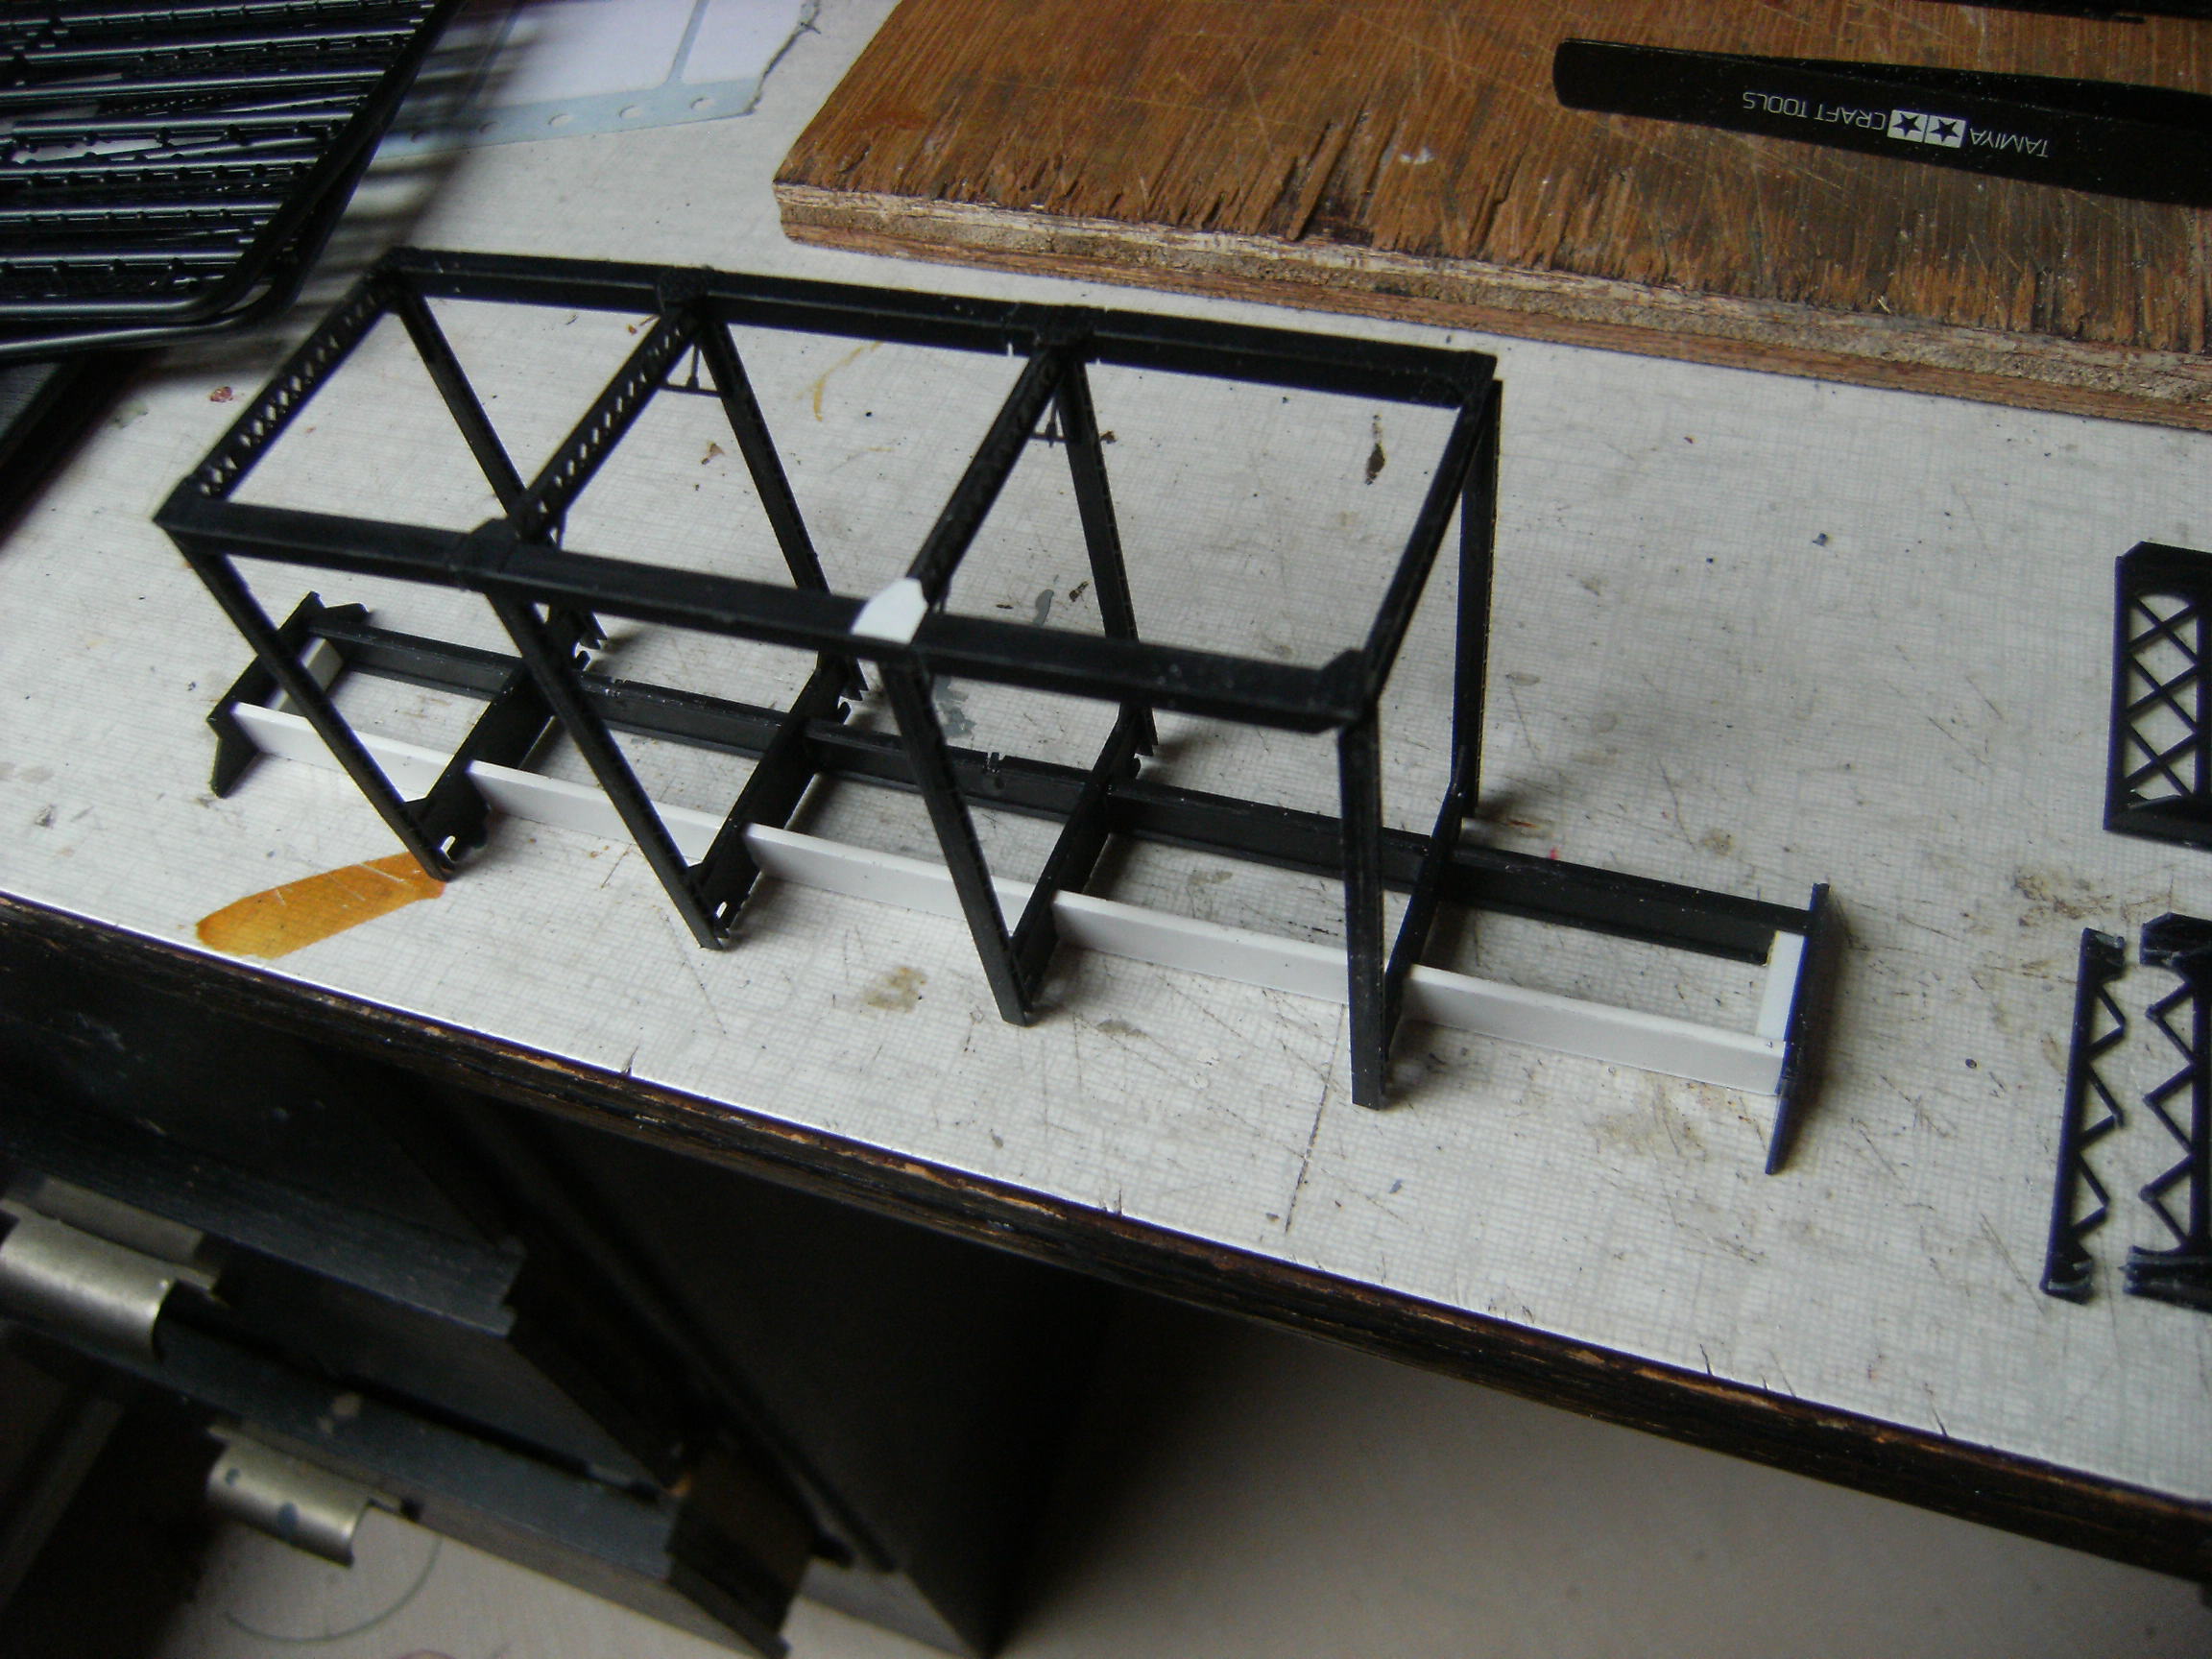
Assembly
- Place the joists on a flat worktop
- Glue the 4 trusses to the joists, checking they are square
- Position the sleeper deck and glue in place


- Place the end portals and glue them in place
- Place the bridge on one side and stick the lower pull rod and the diagonals from thin styrene strip
- Reverse the bridge and complete the other side


Painting
-
- Spray a coat of primer on the whole bridge using an airbrush
- Let dry well
- Spray with matte gray and rusty brown where you expect rust: horizontal parts, rivets, everywhere!
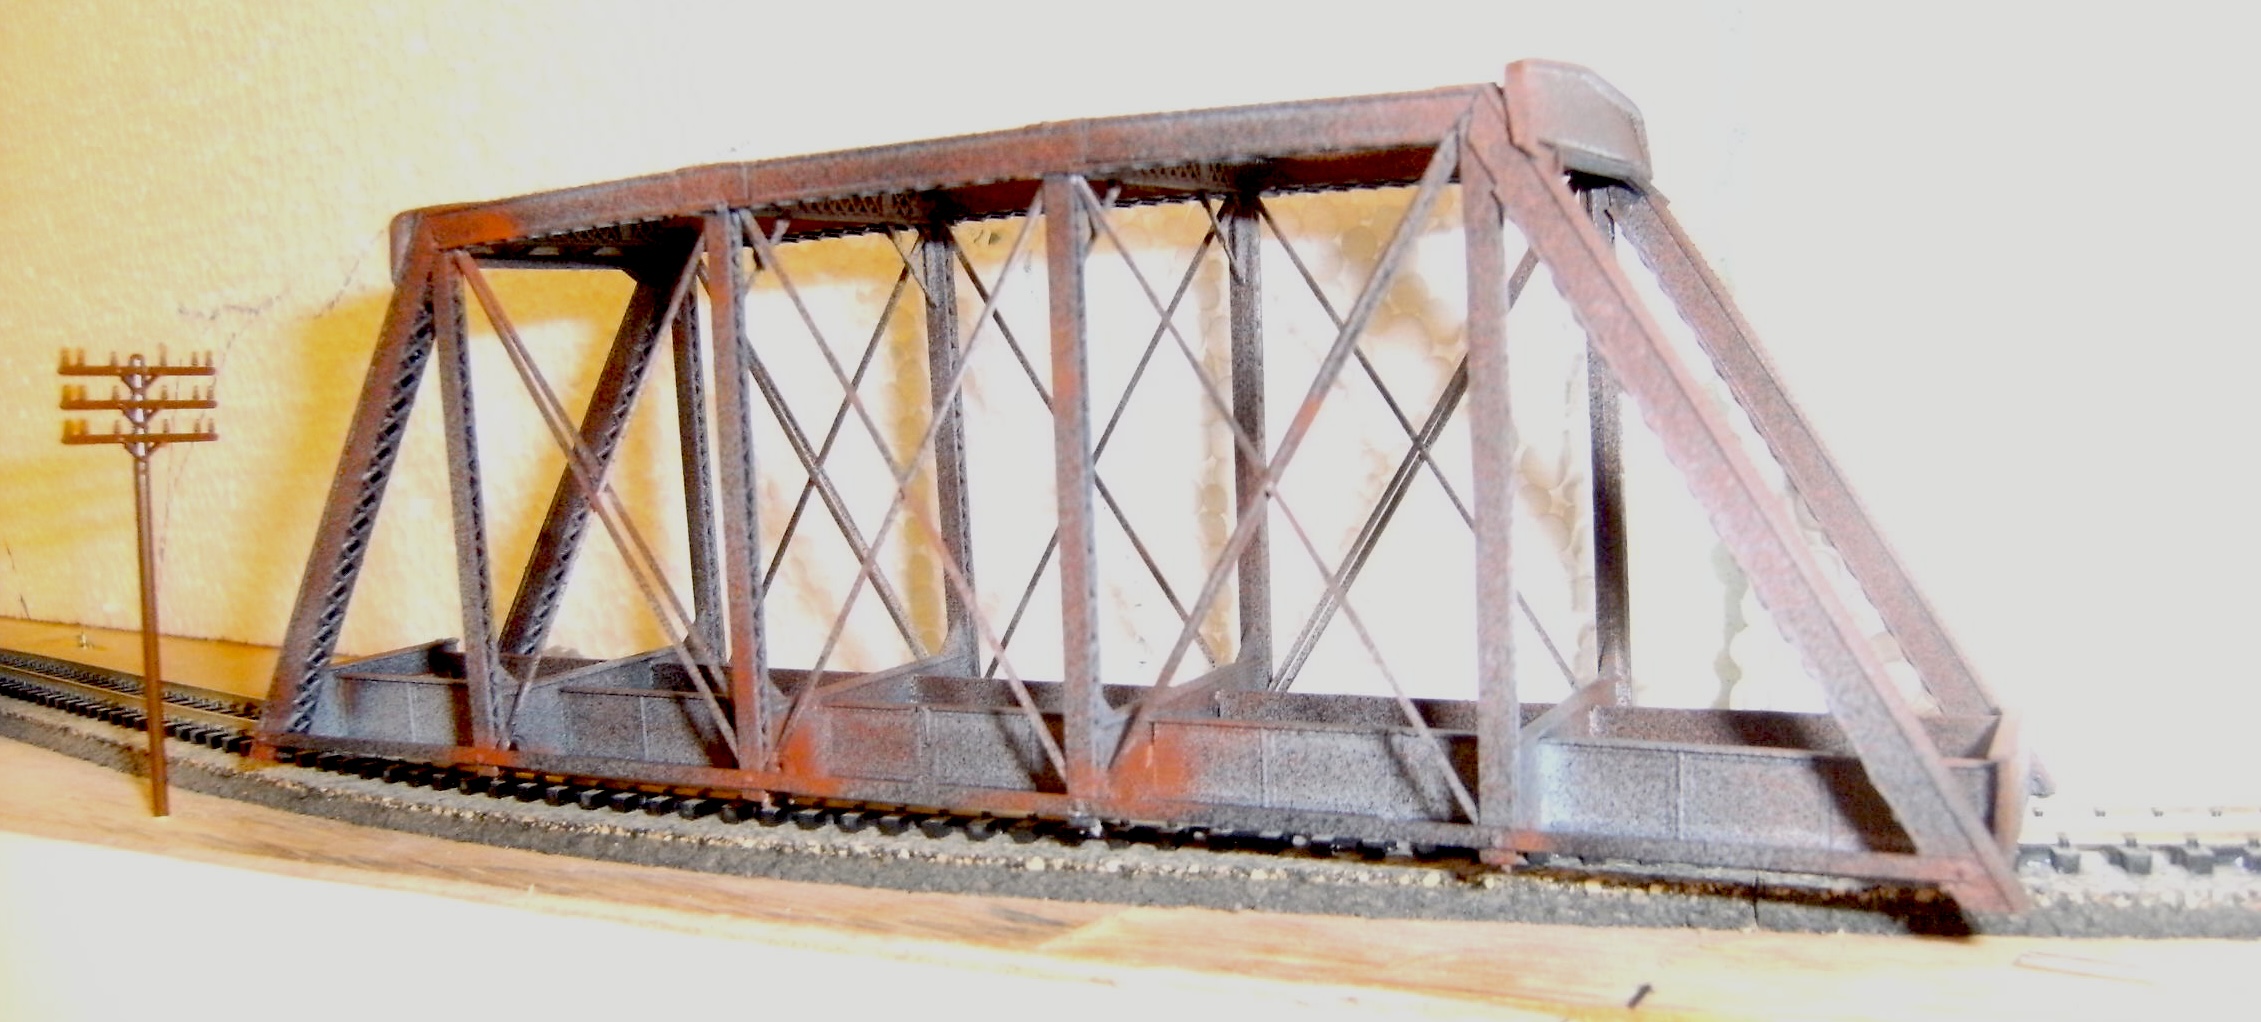
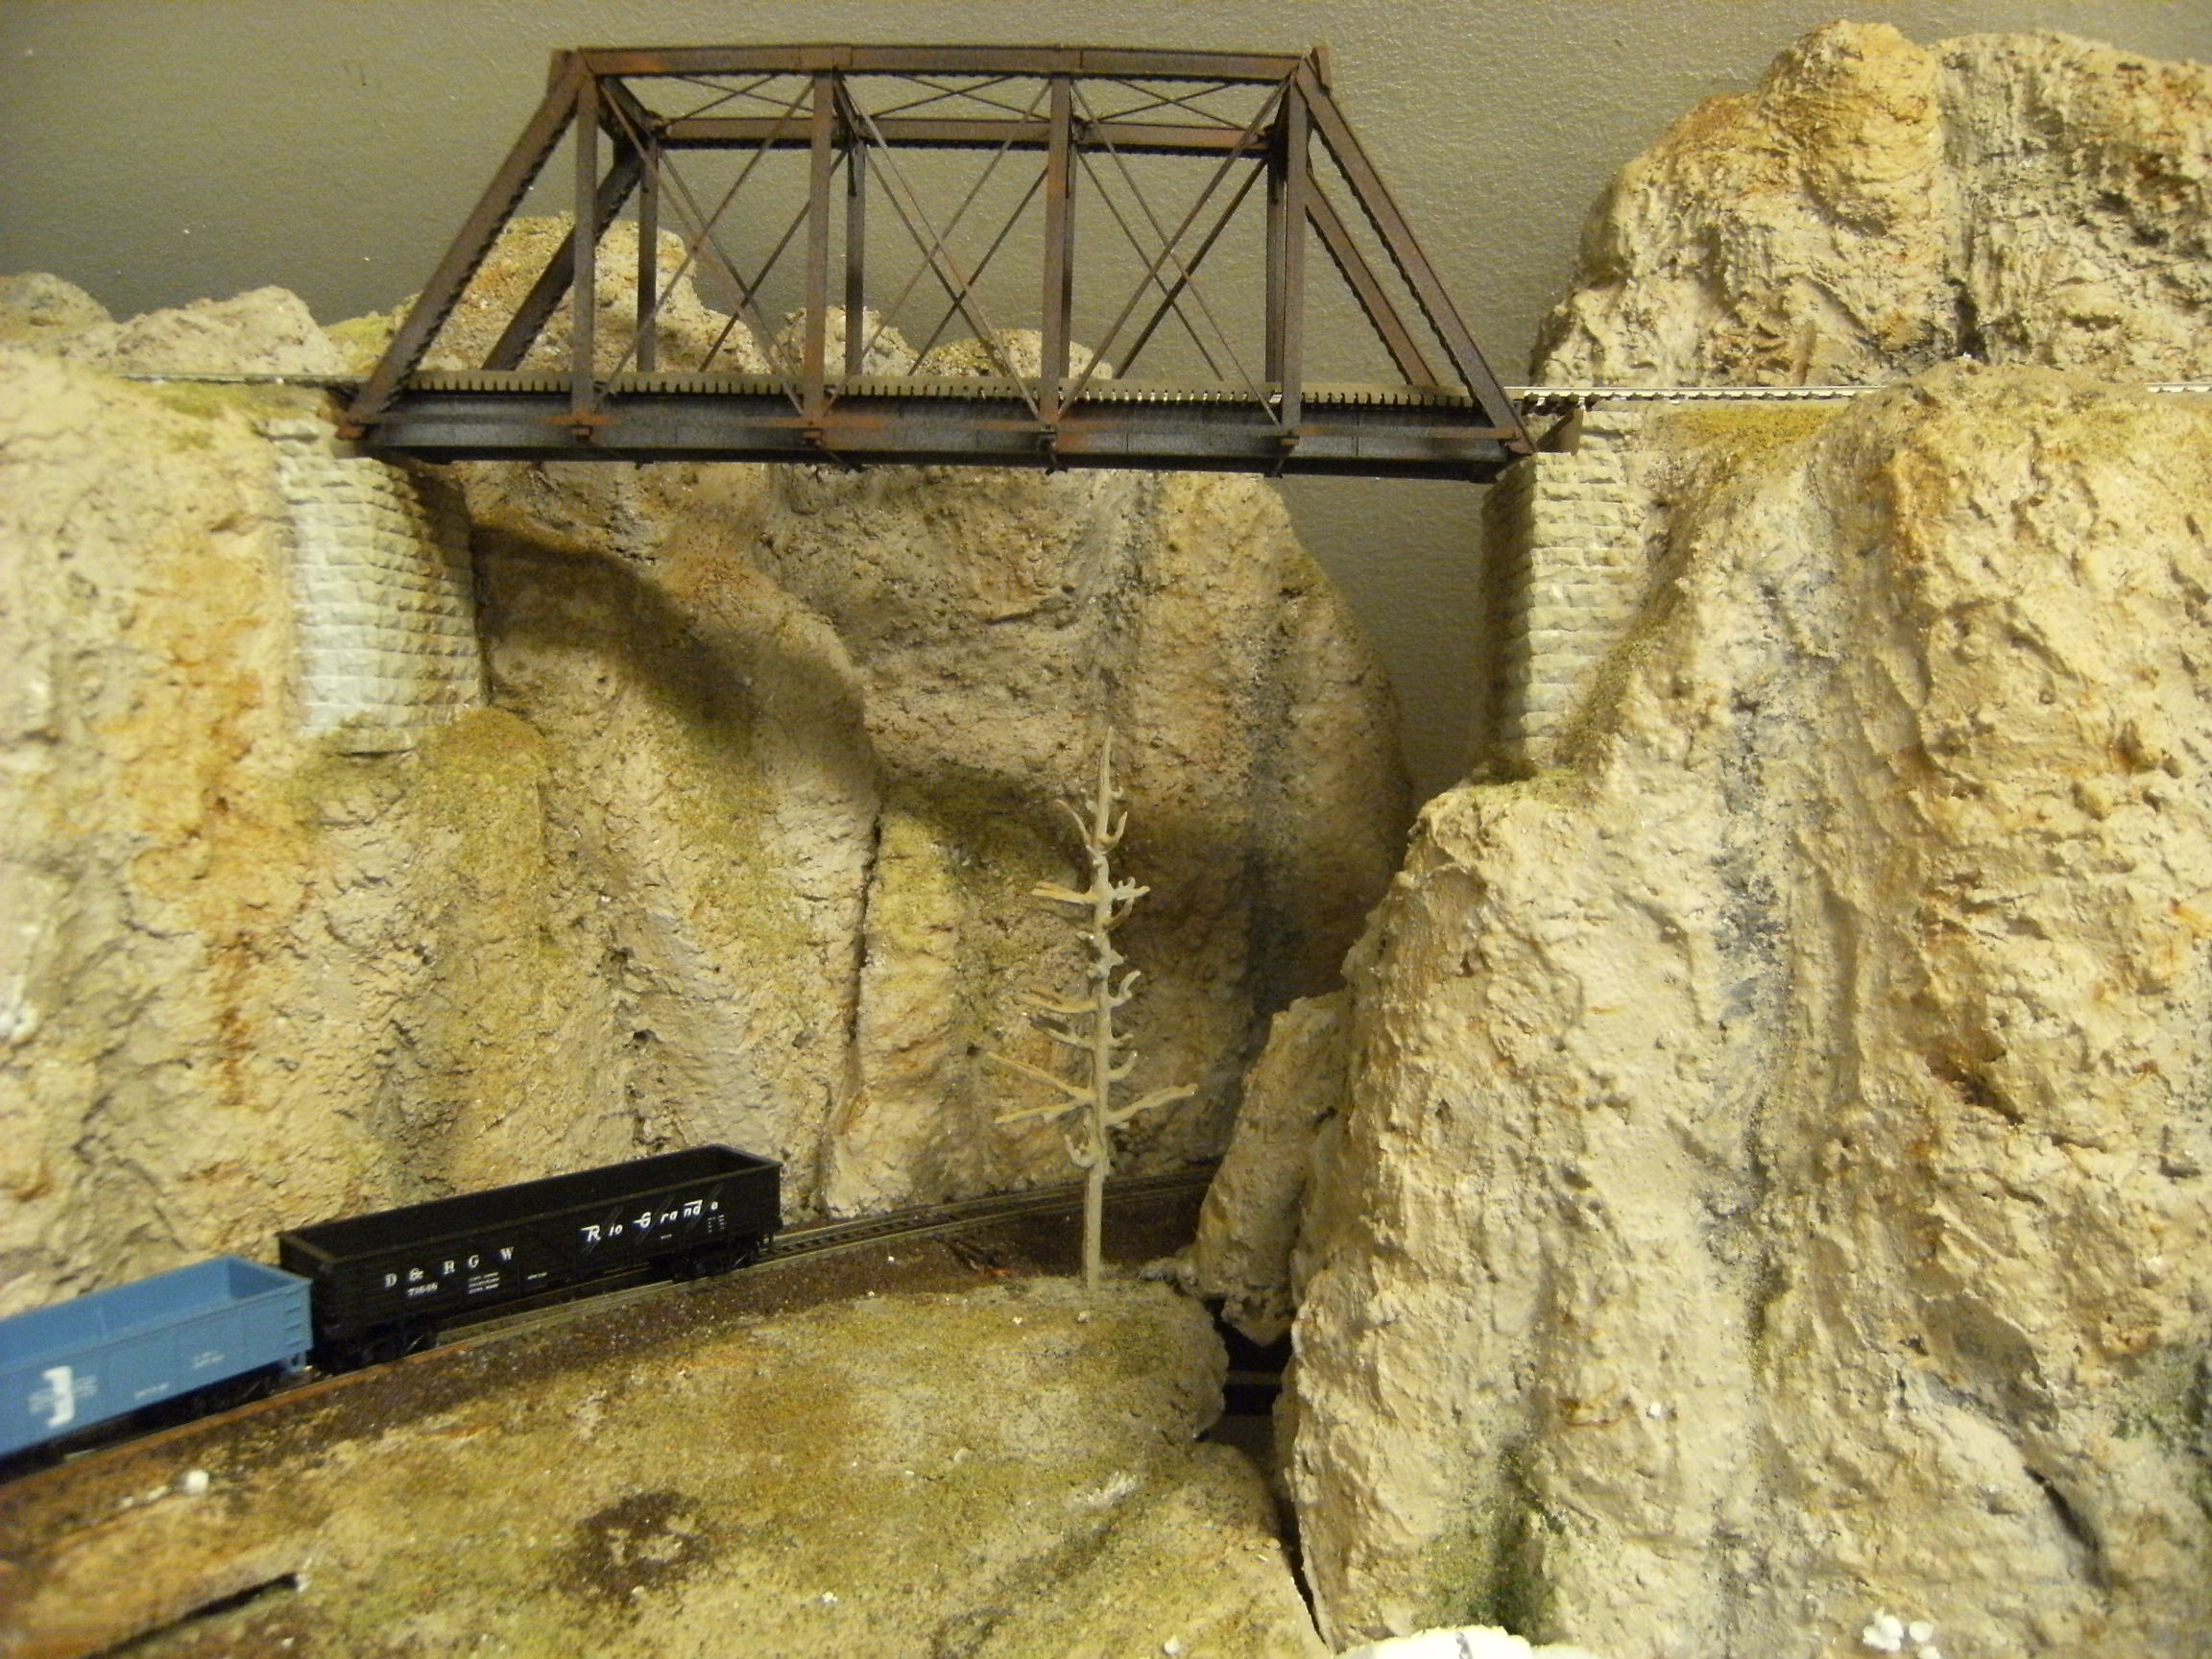
- Place the bridge on your track
- Glue low-profile flex rails on it (check the width with an N-scale gauge)
Enjoy Reading This Article?
Here are some articles you might like to read next: